
• Business systems such as browser-based time-clocks, point-of-sale devices, and custom web applications
• Interactive kiosks for informational presentations or entry forms
• Digital signage
• Hotel business centers
• Business wanting to prevent employees from visiting non-work related websites
• Parents or schools wanting to limit children’s Internet access

1. Select the browser menu ellipse button (...), then choose Settings > Start, home, and new tabs > When Edge starts > Open these pages > Add a new page.
2. Enter the URL that will be your home page when the browser is opened. This will be one of the whitelisted pages. Be sure to add the protocol to the URL. For example: “https://inteset.com”.
1. Select the browser menu ellipse button (...), then choose Settings > On startup > Open a specific page or set of pages > Add a new page
2. Enter the URL that will be your home page when the browser is opened. This will be one of the whitelisted pages. Be sure to add the protocol to the URL. For example: “https://inteset.com”.
1. Open the the Windows Registry editor. Press the Windows Key + R to open the Windows Run dialog. Then type “regedit” and press Enter. The Windows Registry Editor will open as shown below.
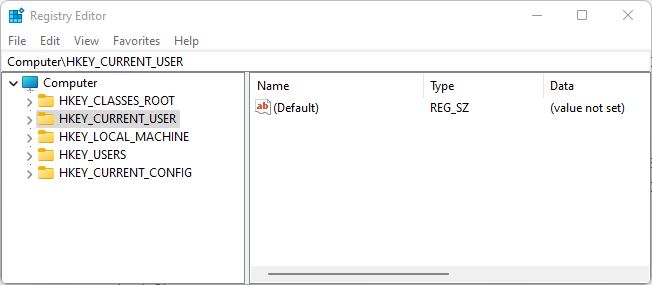
2. Navigate to the following registry key name path: “HKEY_CURRENT_USER\Software\Policies\”
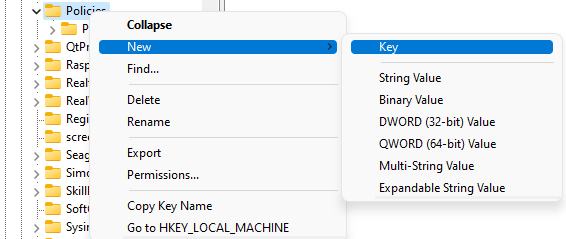
1. Within the Policies key, create a new key name by right-clicking on the Policies key name and selecting New > Key, then enter the value “Microsoft” as shown below.
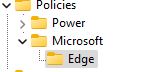
2. Create another new key name under Microsoft called “Edge” as shown below.
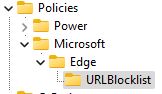
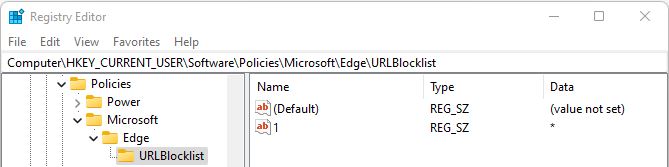
3. Create another new key name under Edge called “URLBlocklist” as shown below.
4. Under the URLBlocklist key, right-click on the name and select New > String Value, then enter the name “1” and press OK.
5. Double-click on the name “1”, and enter an asterisk (*) to block all websites.
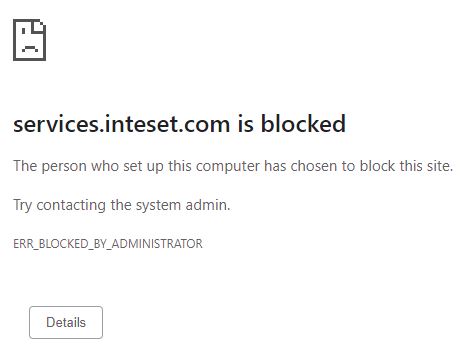
If you now open the Edge browser, you’ll notice that you will no longer be able to access any websites.

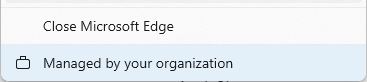
Notice also that the browser is “Managed by your organization” as shown at the bottom of the browser’s menu.
Note: Managing features of Edge, is accomplished by specifying the “edge://” schema plus the function in the address bar. For example, “edge://settings”, “edge://history”, or “edge://favorites”. These URLs will also be blocked.
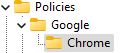
1. Within the Policies key, create a new key name by right-clicking on the Policies key name and selecting New > Key, then enter the value “Google” as shown below.
2. Create another new key name under Google called “Chrome” as shown below.
3. Create another new key name under Chrome called “URLBlocklist” as shown below.
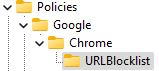
4. Under the URLBlocklist key, right-click on the name and select New > String Value, then enter the name “1” and press OK.
5. Double-click on the name “1”, and enter an asterisk (*) to block all websites.
If you now open the Chrome browser, you’ll notice that you will no longer be able to access any websites.
Notice also that the browser is “Managed by your organization” as shown at the bottom of the browser’s menu.
Note: Managing features of Chrome, is accomplished by specifying the “chrome://” schema plus the function in the address bar. For example, “chrome://settings”, “chrome://history”, or “chrome://bookmarks”. These URLs will also be blocked.
1. Open the the Windows Registry editor. Press the Windows Key + R to open the Windows Run dialog. Then type “regedit” and press Enter. The Windows Registry Editor will open as shown below.
2. Navigate to the following registry key name path: “HKEY_CURRENT_USER\Software\Policies\Microsoft\Edge\”
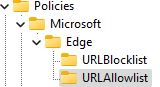
3. Create a new key name under Edge called “URLAllowlist” as shown below.
4. Under the URLAllowlist key, right-click on the name and select New > String Value, then enter the name “1” and press OK.
5. Double-click on the name “1”, and enter a website you wish to allow as shown below. For example, “inteset.com”.

6. Repeat step 5 above for every new website you wish to allow changing the String Value name to the next consecutive number as shown below.

The settings will take effect the next time the browser is started.
To learn more about URL filter patterns for whitelisting Edge websites, click here.
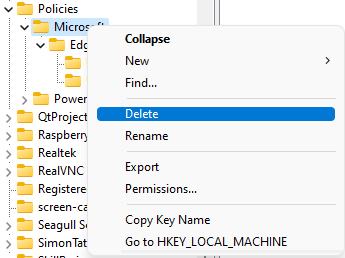
7. To remove the whitelisting feature, delete the entire Microsoft policy by right-clicking on the key name, then select Delete as shown below.
1. Open the the Windows Registry editor. Press the Windows Key + R to open the Windows Run dialog. Then type “regedit” and press Enter. The Windows Registry Editor will open as shown below.
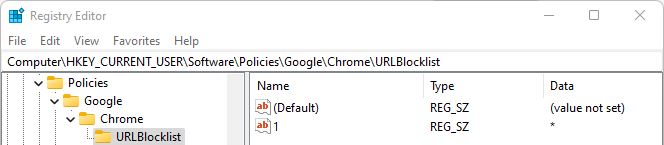
2. Navigate to the following registry key name path: “HKEY_CURRENT_USER\Software\Policies\Google\Chrome\”
3. Create a new key name under Chrome called “URLAllowlist” as shown below.
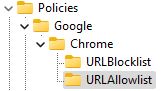
4. Under the URLAllowlist key, right-click on the name and select New > String Value, then enter the name “1” and press OK.
5. Double-click on the name “1”, and enter a website you wish to allow as shown below. For example, “inteset.com”

6. Repeat step 5 above for every new website you wish to allow changing the String Value name to the next consecutive number as shown below.

The settings will take effect the next time the browser is started.
To learn more about URL filter patterns for whitelisting Chrome websites, click here.
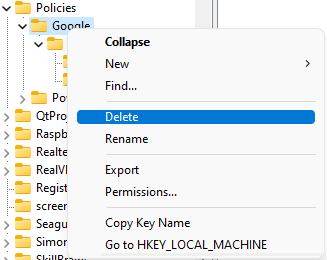
7. To remove the whitelisting feature, delete the entire Google policy by right-clicking on the key name, then select Delete as shown below.
1. Add a new Windows administrator account (instructions found here).
2. Change the current Windows administrator account to a Standard User account (instructions found here).