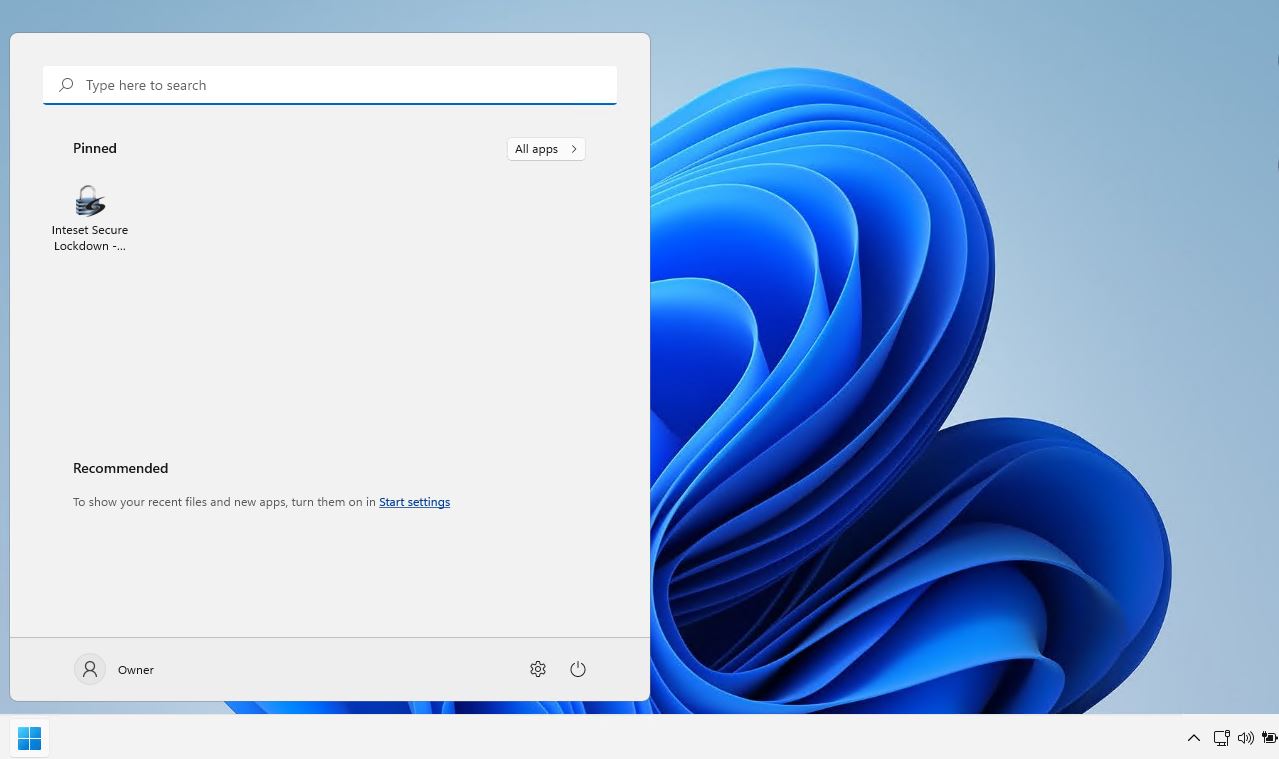
• Configured specifically to support the special purpose application
• Stripped down to include only the needed OS features
• Optimized for speed and increased system resources (CPU, memory, storage)
1. Create a New Administrator Account: In addition to the Windows account used for the special purpose use, it is recommended that a second, password protected local administrator account be created to more easily facilitate a system recovery if needed.
2. Configure Windows Auto Login (detailed instructions) - Typically special purpose configured systems are set up to boot directly into the application. Auto login provides that ability.
3. Turn Off Windows Notifications: Settings > System > Notifications
4. Turn Off System Icons: Settings > Personalization > Taskbar > Taskbar icons on or off
5. If using Windows Defender: Create an Exclusion for your application folder
6. Turn Off Windows Defender Notifications: Settings > Windows Defender > Open Windows Defender > Settings (icon) > Windows Defender Antivirus | Firewall Notifications
7. Turn Off Snap: Settings > System > Multitasking > Snap
8. Turn Off Virtual Desktops: Settings > System > Multitasking > Desktops > Only the desktop I’m...
9. Set Taskbar to Auto Hide: Settings > Personalization > Taskbar > Automatically hide the Taskbar
10. Set Taskbar to not display badges: Settings > Personalization > Taskbar > Show badges...
11. Set Taskbar to not display badges: Settings > Personalization > Taskbar > Show badges...
12. Set Taskbar to not share windows: Settings > Personalization > Taskbar > Show my taskbar on all displays
13. Set Taskbar to not show the desktop: Settings > Personalization > Taskbar > Share any window...
14. Remove Start Menu Items: Settings Privacy & security > turn off all options
15. Turn Off UAC: Control Panel > User Accounts > Change User Account Control settings
16. Disable WiFi Services: Settings > Network & Internet > Wi-Fi > Wi-Fi
17. Disable Mobile Hotspot: Settings > Network & Internet > Mobile Hotspot
1. Remove Folders: Settings > Personalization > Start > Folders > Choose which folders appear on Start next to the Power button
2. Remove Start Menu Recommended Apps: Right-click on each item and choose Unipin, or Uninstall (if available)
3. Remove Start Menu List Items: Enter the following in the Windows Run dialog, then delete the unneeded shortcuts and folders:
%AppData%\Microsoft\Windows\Start Menu\Programs
%ProgramData%\Microsoft\Windows\Start Menu\Programs
1. Remove Unnecessary Apps & Features: Settings > Apps > Apps & Features
Be sure not to uninstall needed system applications such as special graphics or network application specific to the computer. Be sure to uninstall Windows Update Assistant. If it is not uninstalled, it will download and install all Windows Updates (even if the Windows Update Service is disabled).
2. Remove Optional Apps & Features: Settings > Apps > Apps & Features > Manage optional features
3. Remove Unnecessary Built-in Windows System Apps (detailed instructions)
1. Turn Off Windows Recovery Screen: remove the Windows Recovery screen if there is a power failure.
Run a command prompt as an admin
Type "bcdedit /set {current} bootstatuspolicy ignoreallfailures"
2. Disable Windows Recovery Dump Files: Control Panel > System and Security > System > Advanced system settings > Startup and Recovery > Settings
Disable Write an event to the system log
Enable Automatic restart
Set Write debugging information > none
3. Remove Cortana (detailed instructions)
4. Remove Connect (detailed instructions)
5. Remove Edge Browser (detailed instructions)
6. Uninstall OneDrive (detailed instructions)
7. Uninstall other unneeded apps (detailed instructions)
8. Remove Unneeded Windows Services (detailed instructions)
9. Disable the Windows Update Service (detailed instructions)
10. Delete the Windows Restore Partition (detailed instructions)
1. Set a password to access the BIOS
2. Set the system to power on after a power outage
3. Enable Quick Start boot options
4. Disable any unused BIOS-level components such as boot from network or USB options